How to convert .zoom files on macOS
Preface
It seems like Zoom does no longer allow you to convert the files just by clicking on them.
This guide explains how to convert .zoom files on macOS. Here you can find the guides for Linux and Windows.
I’m assuming that you’ve installed the Zoom client using the standard way.
Step 1
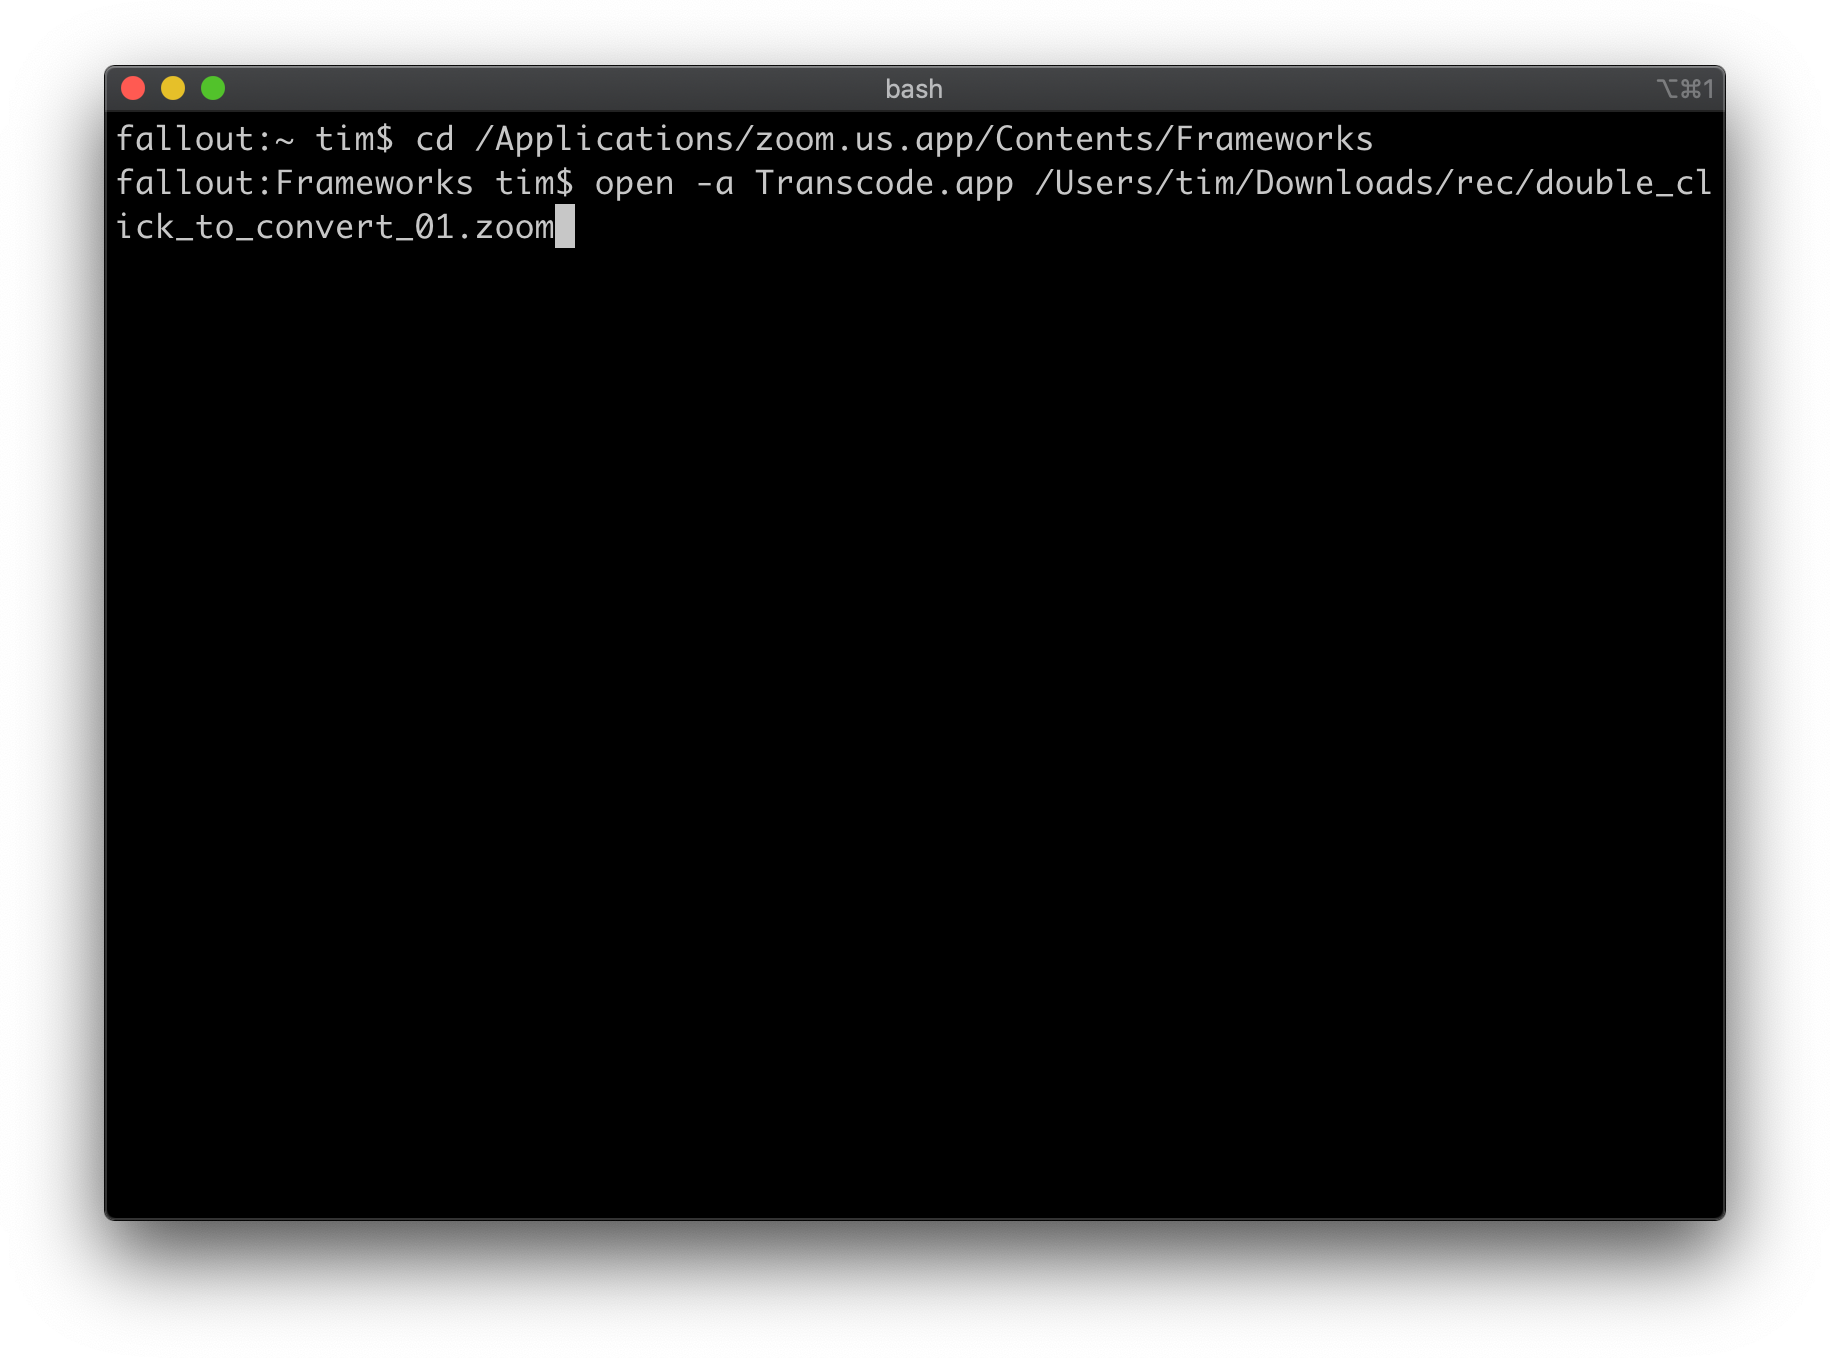
Open the Terminal app and change to the Zoom-Frameworks folder cd /Applications/zoom.us.app/Contents/Frameworks (you can copy-paste the command from here). The commands need to be executed by pressing Enter.
Now you can run the Transcode app which is included in Zoom. To do that you run open -a Transcode.app, followed by the .zoom file (if there are multiple of them, just use the first one). You can drag the file from Finder into the terminal to insert the path at the text cursor position. Confirm the command by pressing Enter.
Step 2
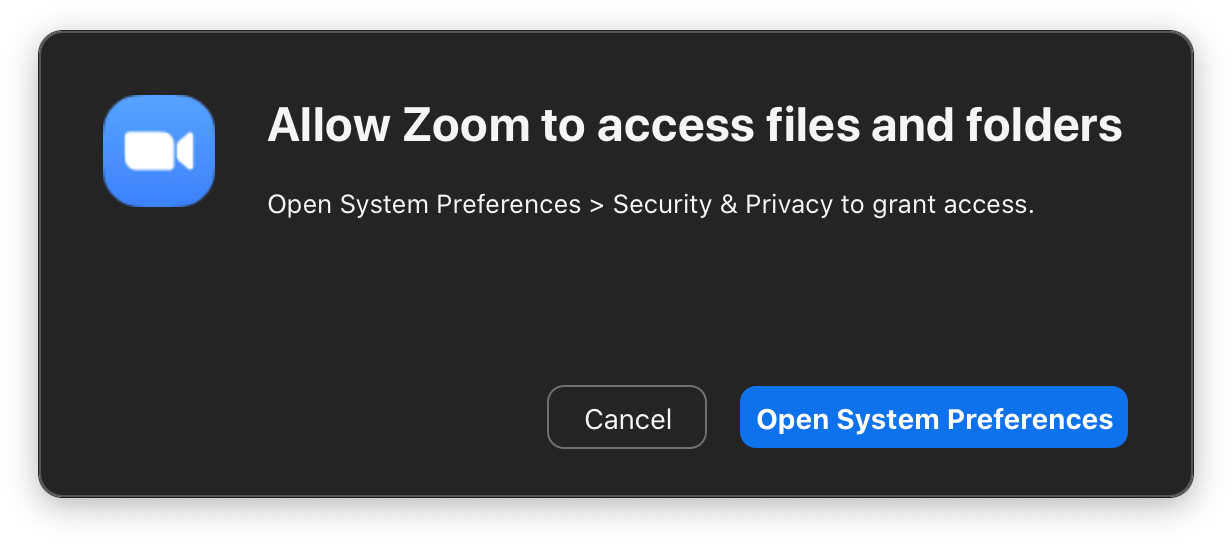
This step may be necessary, depending on the folder the .zoom files are in. If this dialog appears, click “Open System Preferences”. If it does not, skip this step.
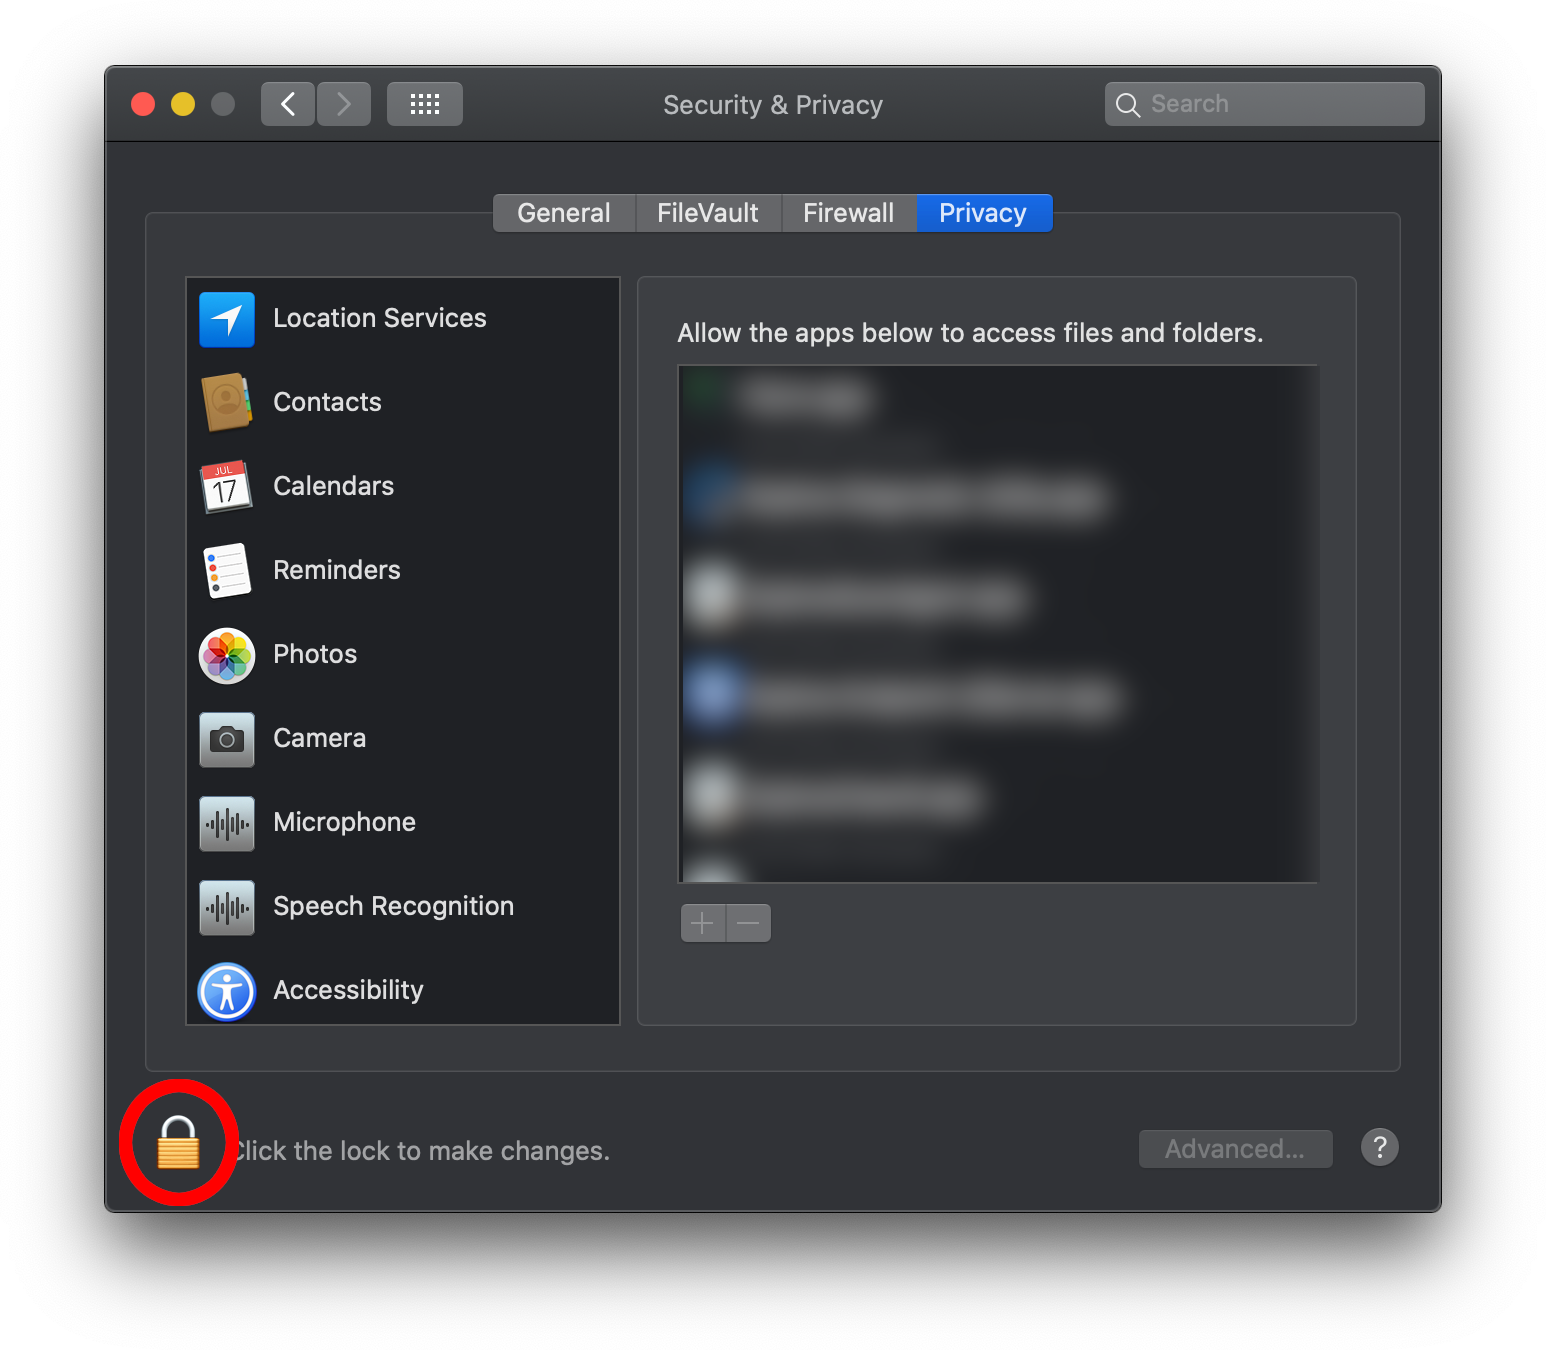
Click on the Lock icon in the bottom left corner and type in your password. Then select the “Full Disk Access” entry in the left list.
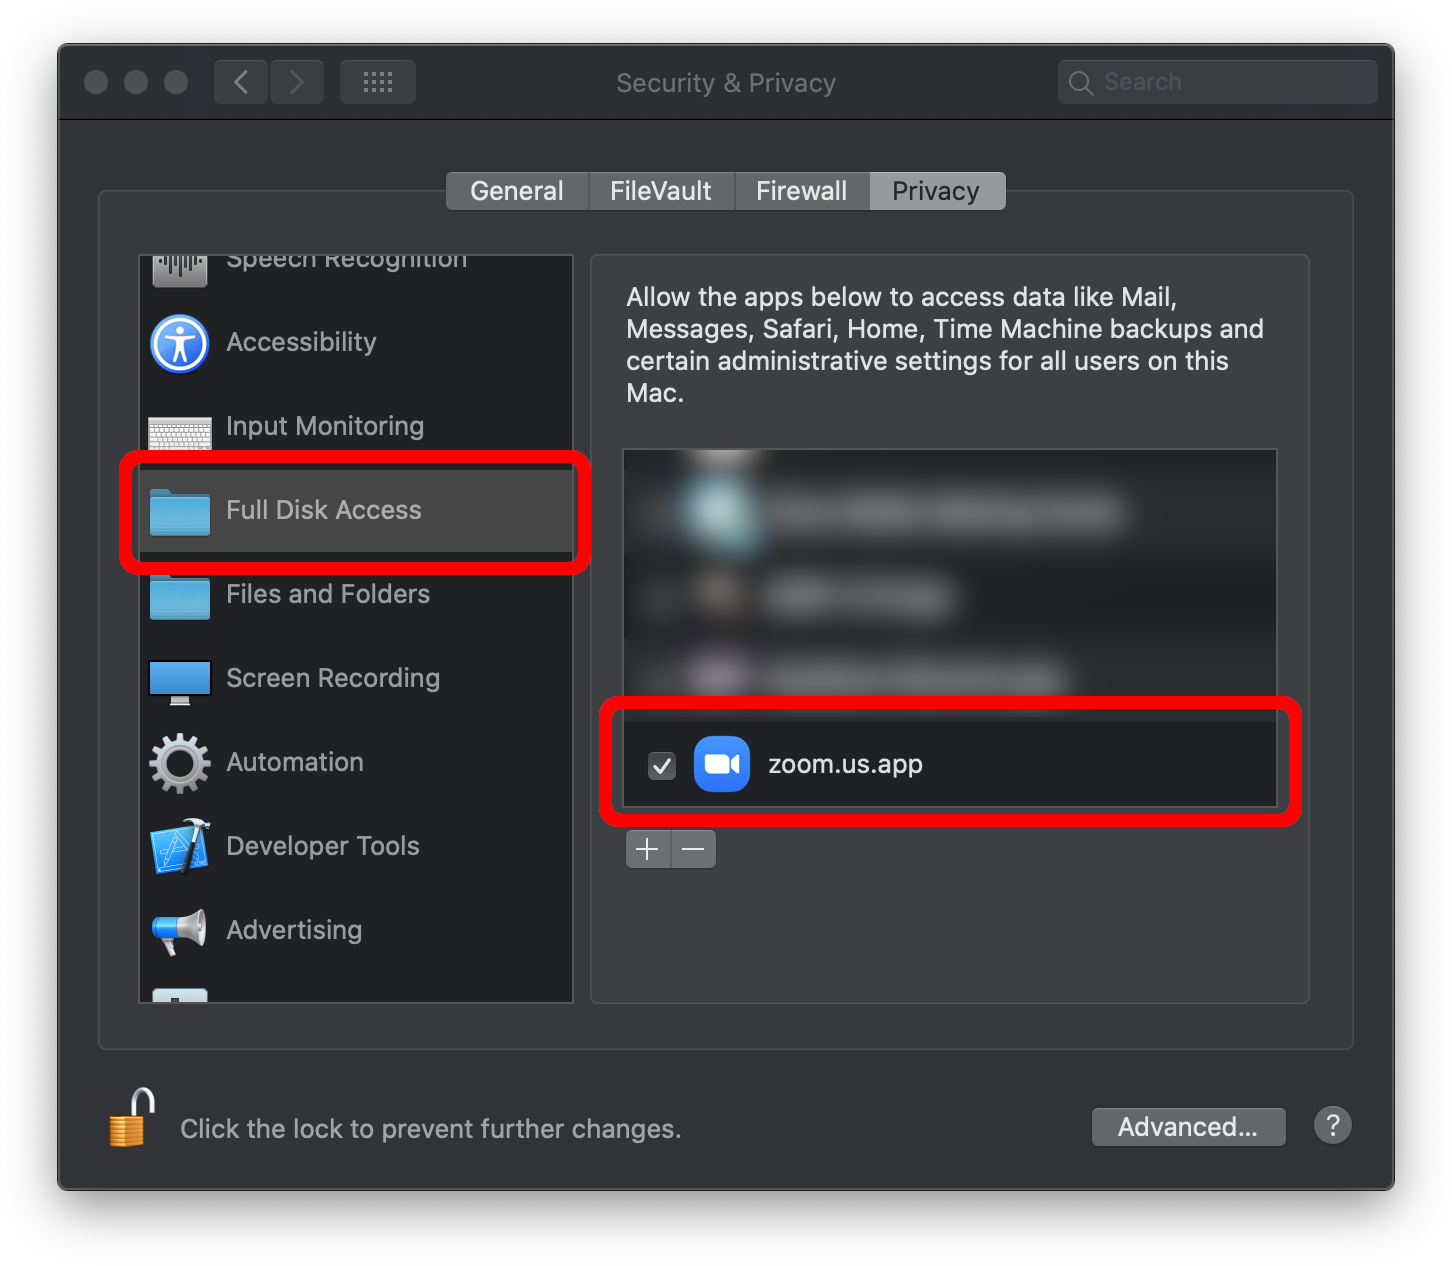
Now you need to check the checkbox for “zoom.us.app”. Close the “Security & Privacy” window. The conversion automatically starts once the correct permissions are set.
Step 3
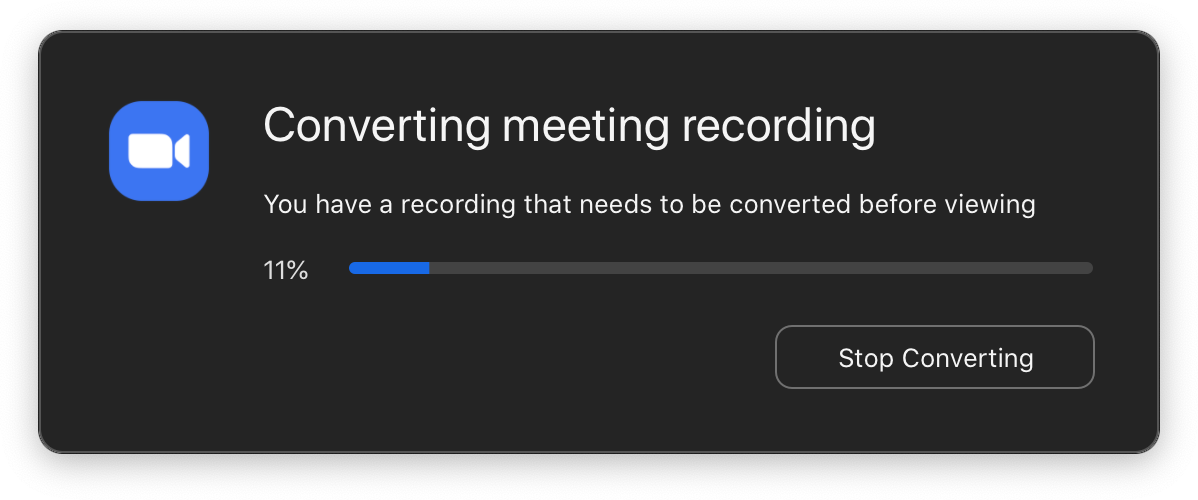
Zoom now converts the files. This may take a while. Grab the beverage of your choice and wait.
Step 4
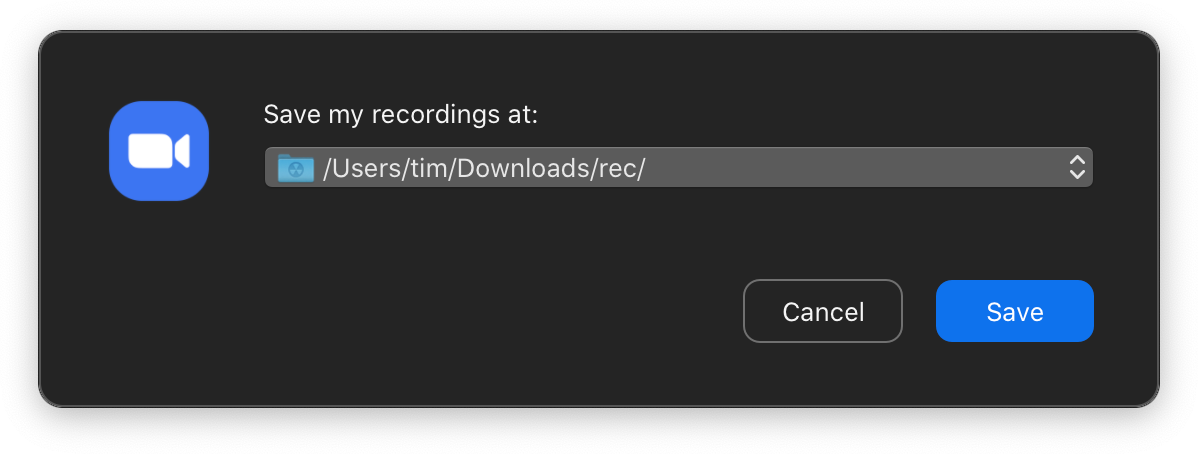
After the conversion, Zoom asks for the folder to put the converted files into. The default is the folder our .zoom files were in.
Step 5
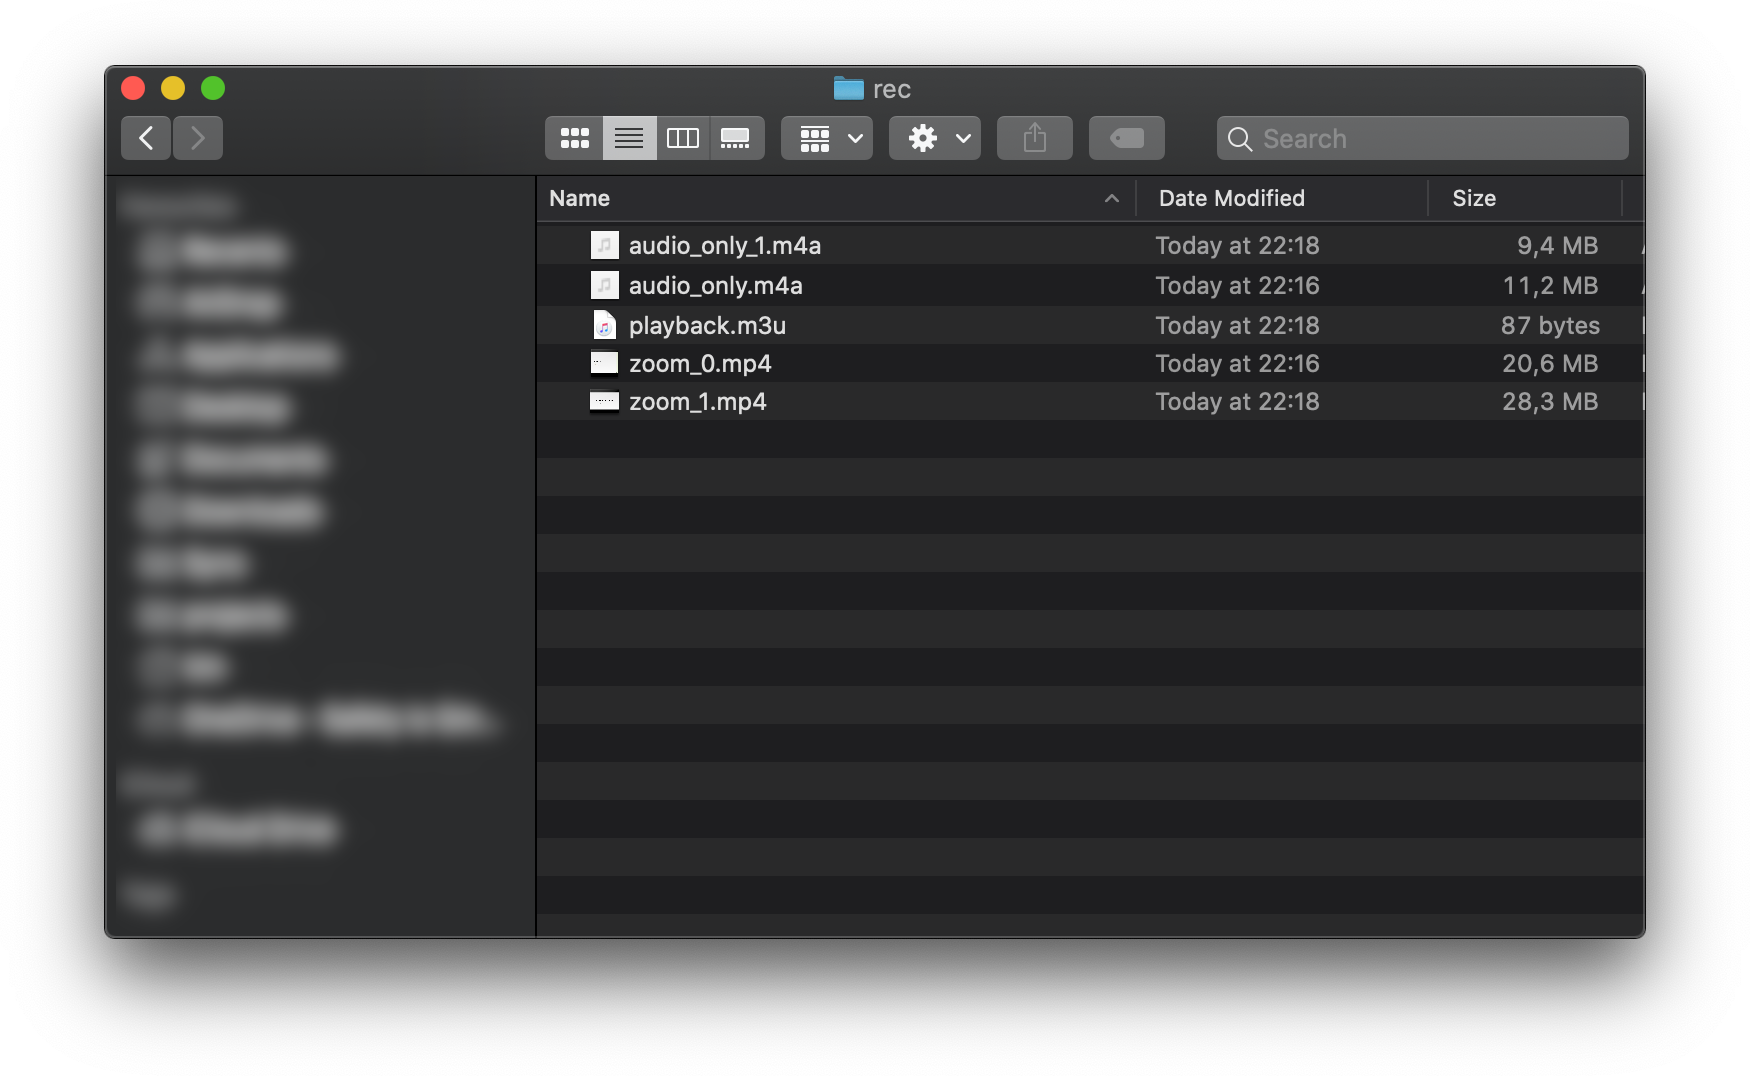
The Zoom window closes and you can use the converted files.