How to restore the double-click to convert for .zoom files on macOS
Preface
The Zoom installer doesn’t link the .zoom files to the converter app anymore. Last week I wrote posts about how to convert the files manually. While that works fine, it’s not convenient to always use the command line for the conversion.
This guide explains how to restore the ability to convert .zoom files by just double-clicking them on macOS. Here you can find the guides for Linux and Windows.
I’m assuming that you’ve installed the Zoom client using the standard way.
Step 1
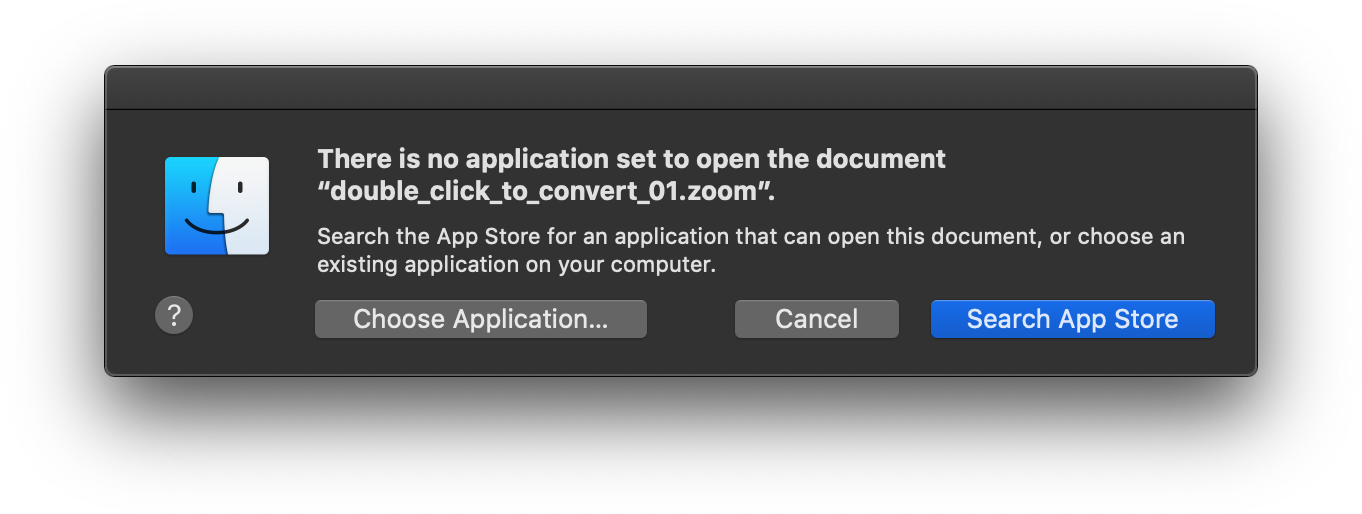
Double-click the .zoom file you want to convert. macOS will ask you for the app to open the file with. Click “Choose Application…”. If the dialog doesn’t show up there is already another app associated with the extension. In this case do a right-click on the file, click “Open With” and “Other…” to open the selection dialog.
Step 2
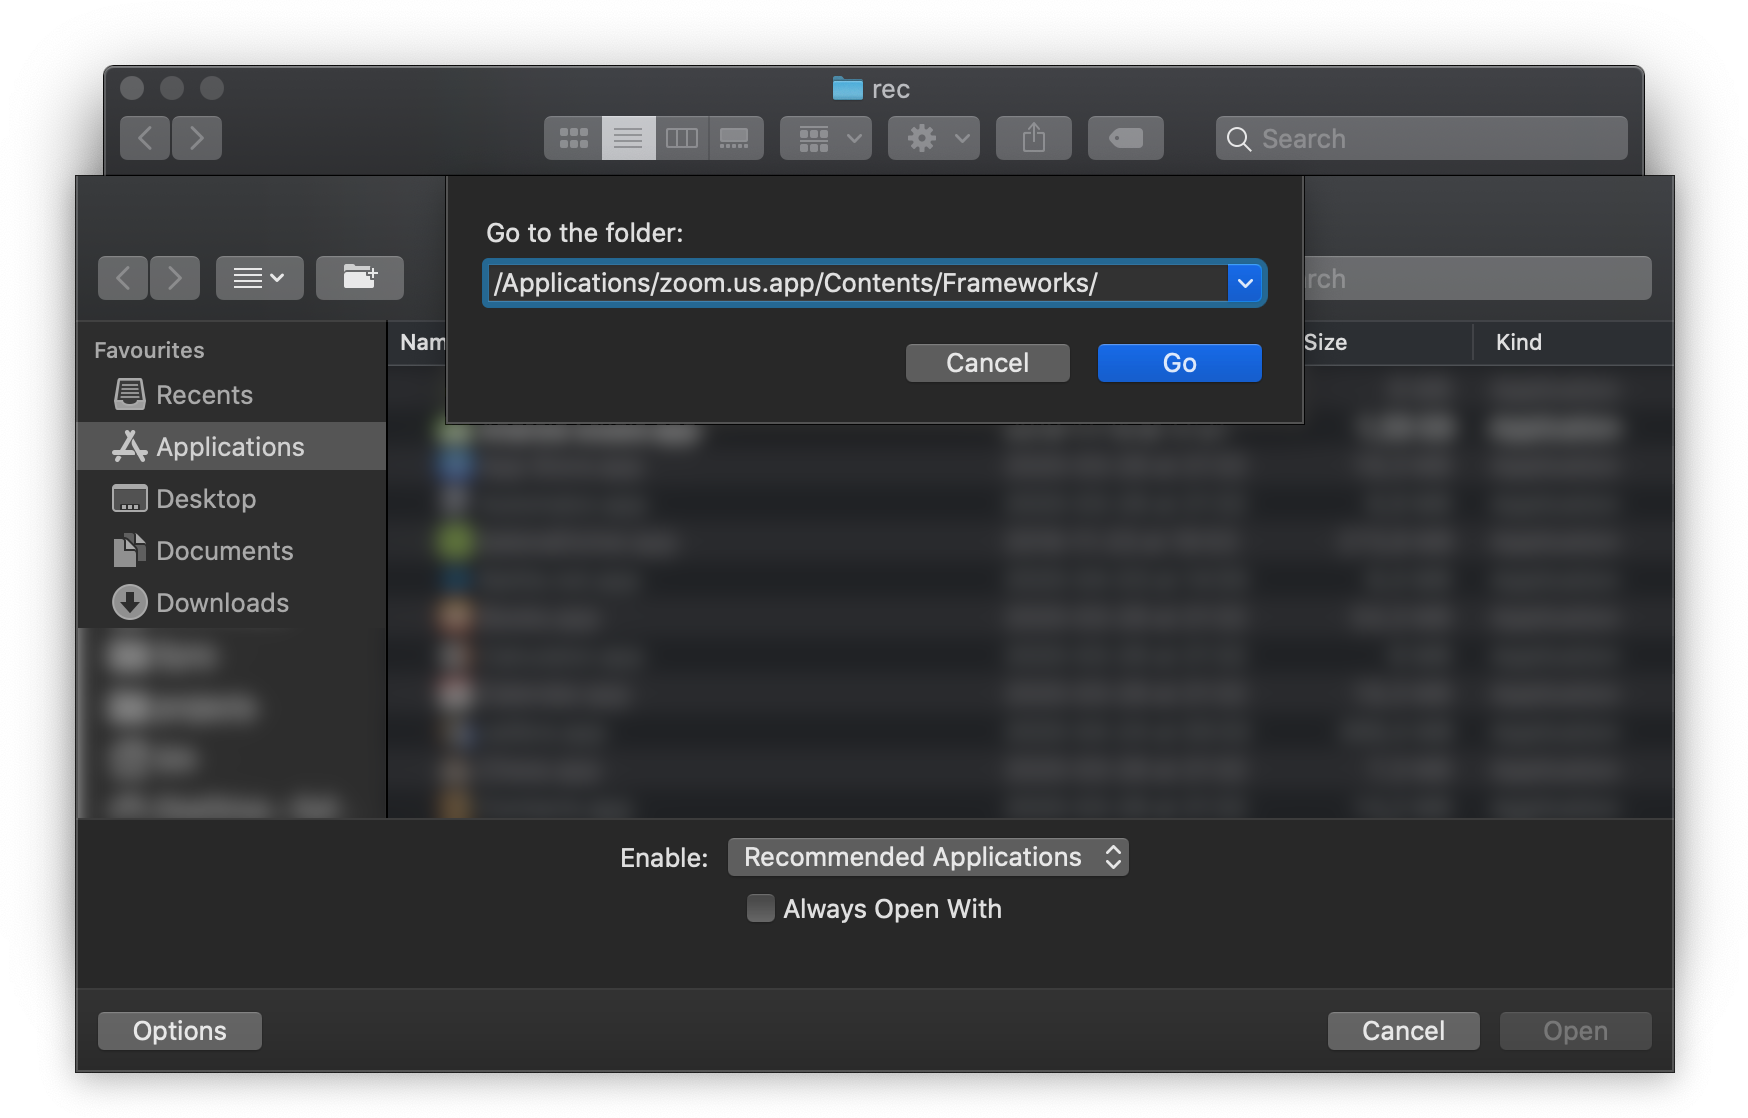
The app we need to select is not in the /Applications/ folder, instead press Command-Shift-G to open the “Go to folder” dialog. Insert the path /Applications/zoom.us.app/Contents/Frameworks/ (you can copy-paste it from here) into the selection box and press “Go”.
Step 3
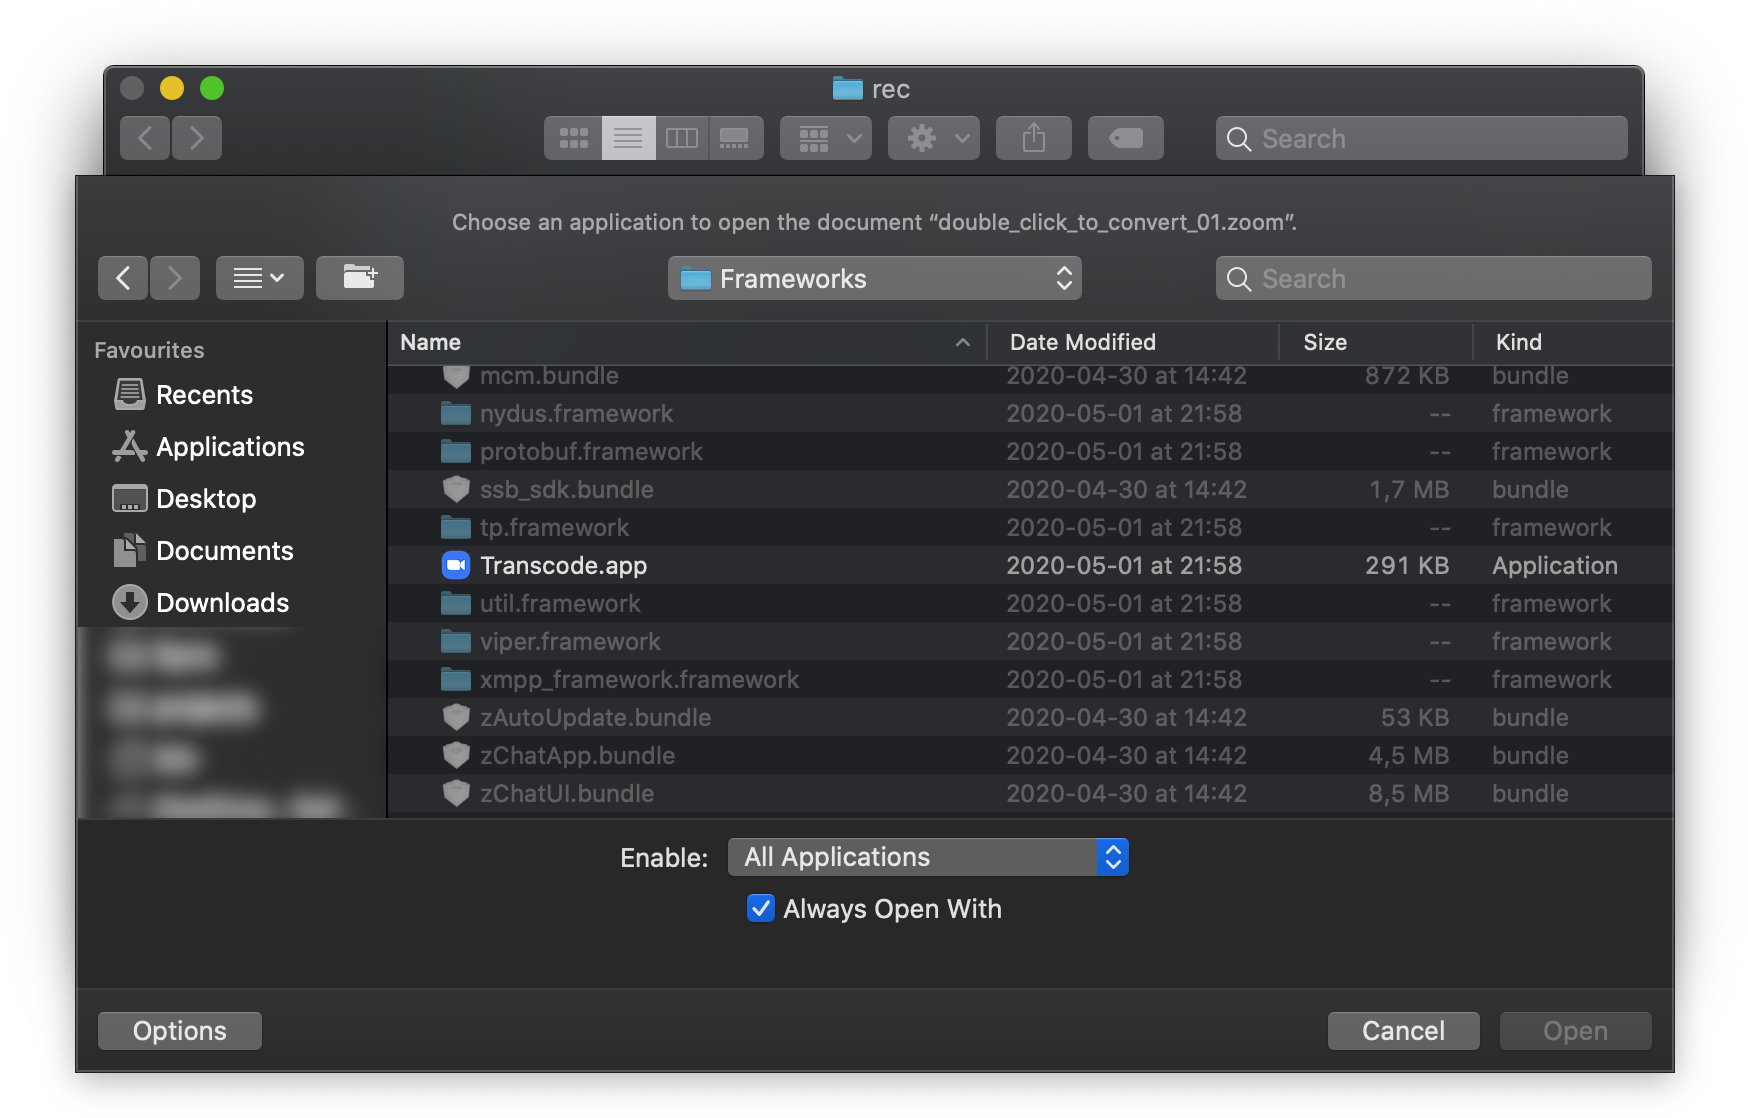
The window now shows the “Frameworks” folder. Select the “All Applications” option for “Enable:” and make sure “Always Open With” is checked. Scroll down until you see the “Transcode.app” in the list. Select it by clicking on it and click “Open”.
Step 4
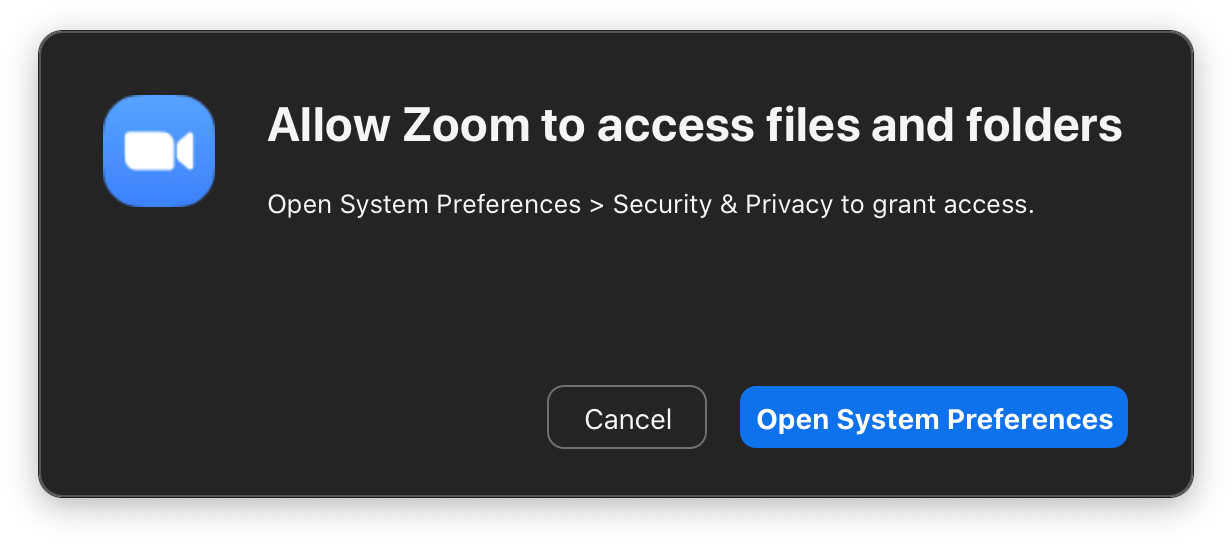
This step may be necessary, depending on the folder the .zoom files are in. If this dialog appears, click “Open System Preferences”. If it does not, skip this step.
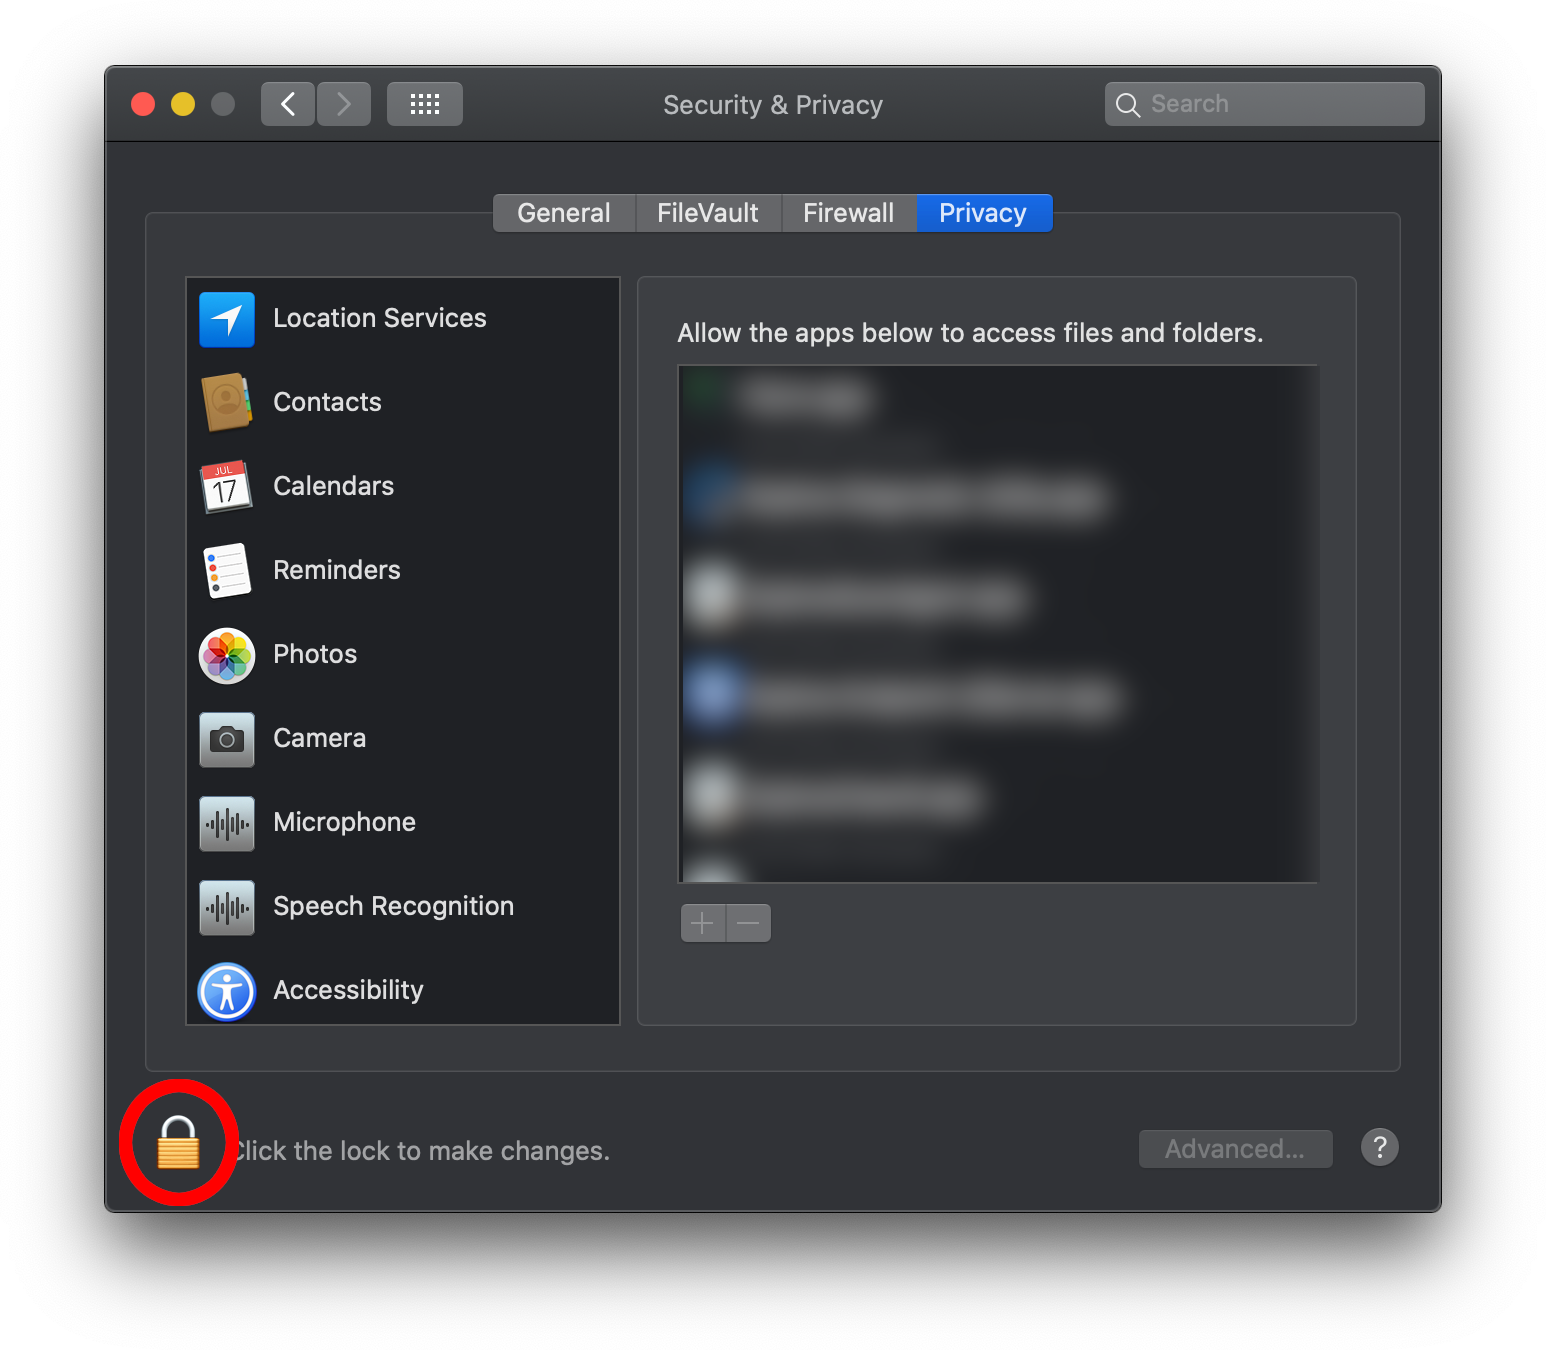
Click on the Lock icon in the bottom left corner and type in your password. Then select the “Full Disk Access” entry in the left list.
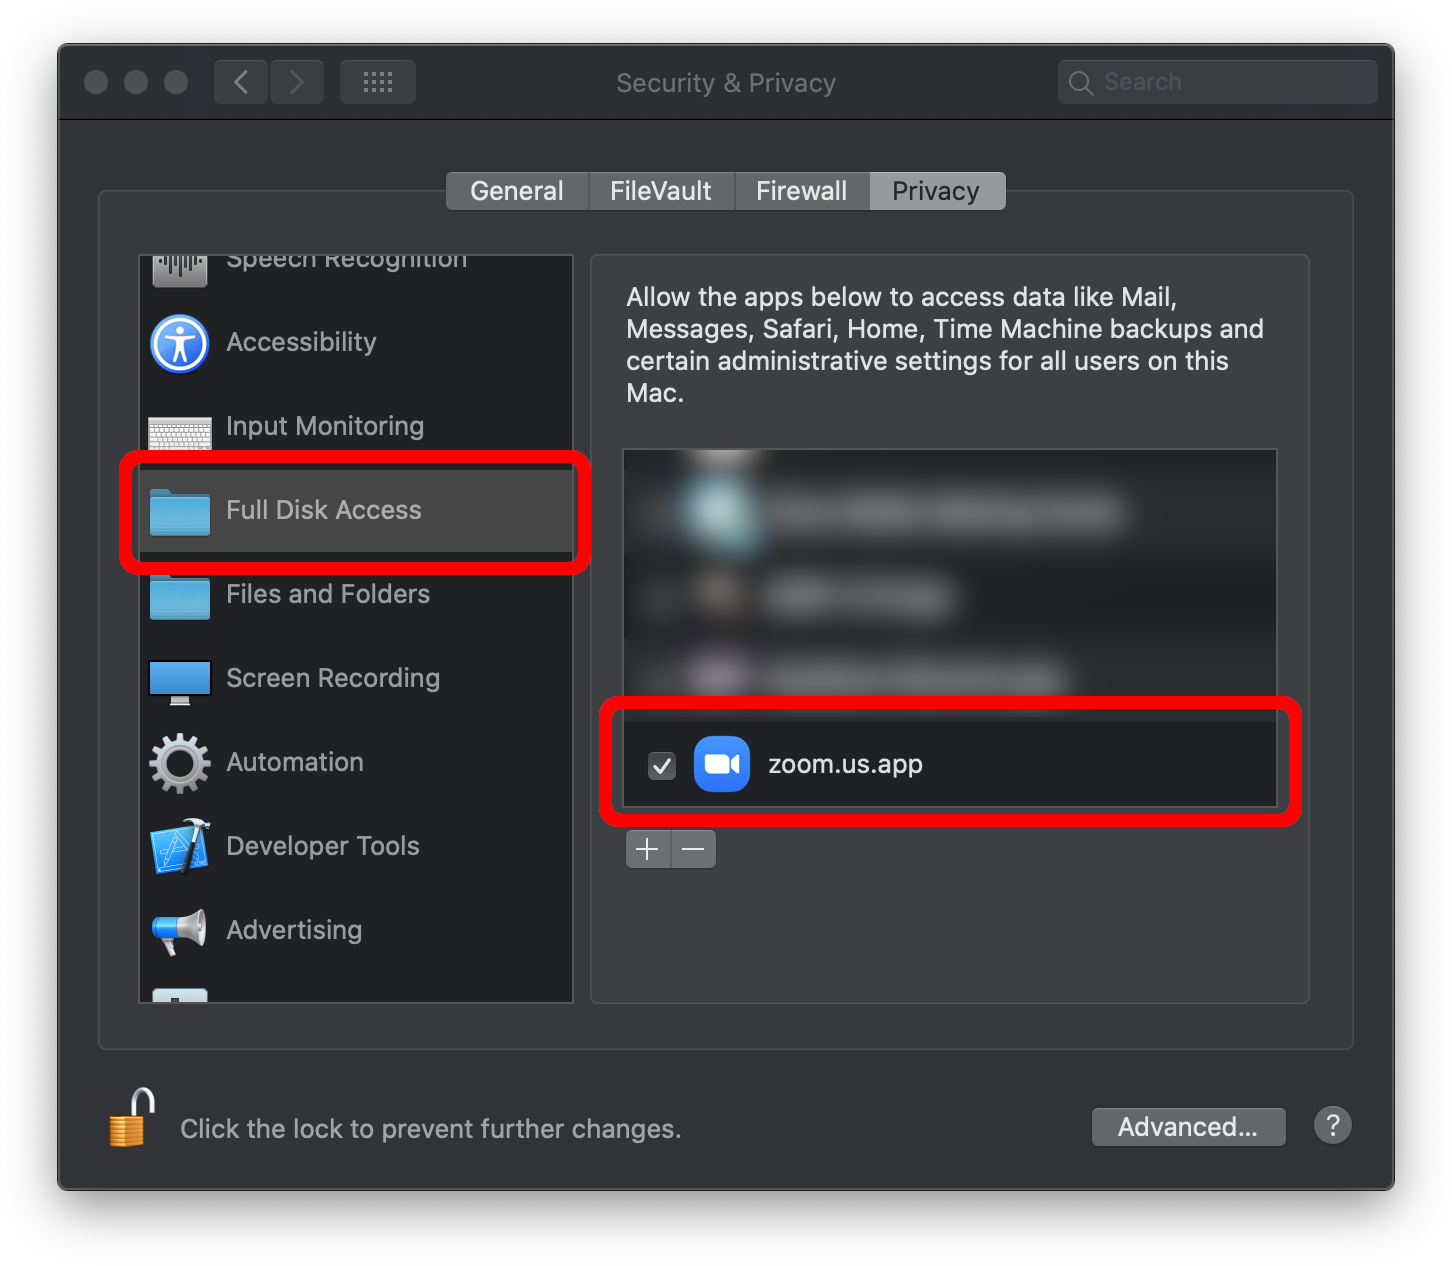
Now you need to check the checkbox for “zoom.us.app”. Close the “Security & Privacy” window. The conversion automatically starts once the correct permissions are set.
Step 5
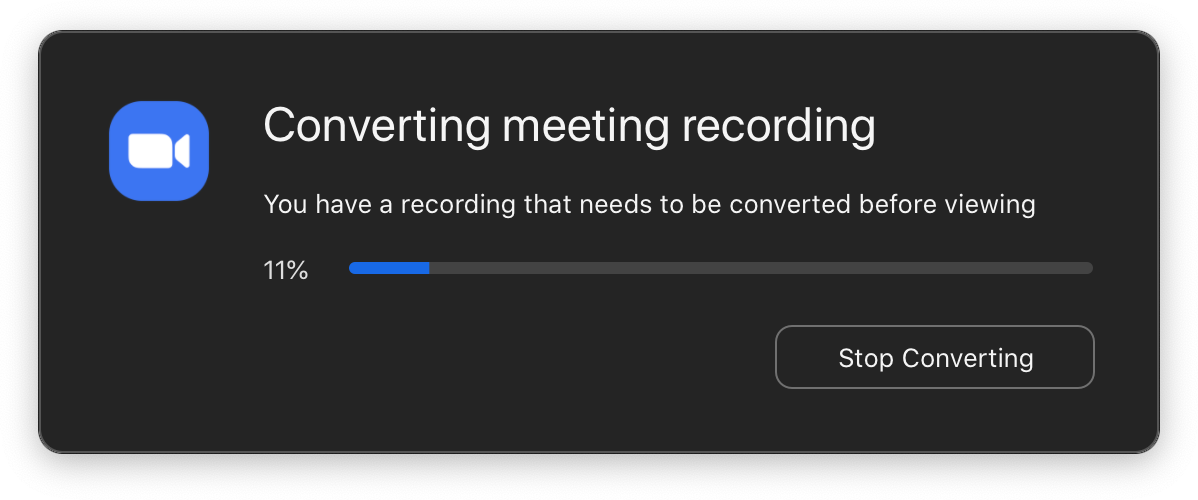
Zoom now converts the files. This may take a while. Grab the beverage of your choice and wait.
Step 6
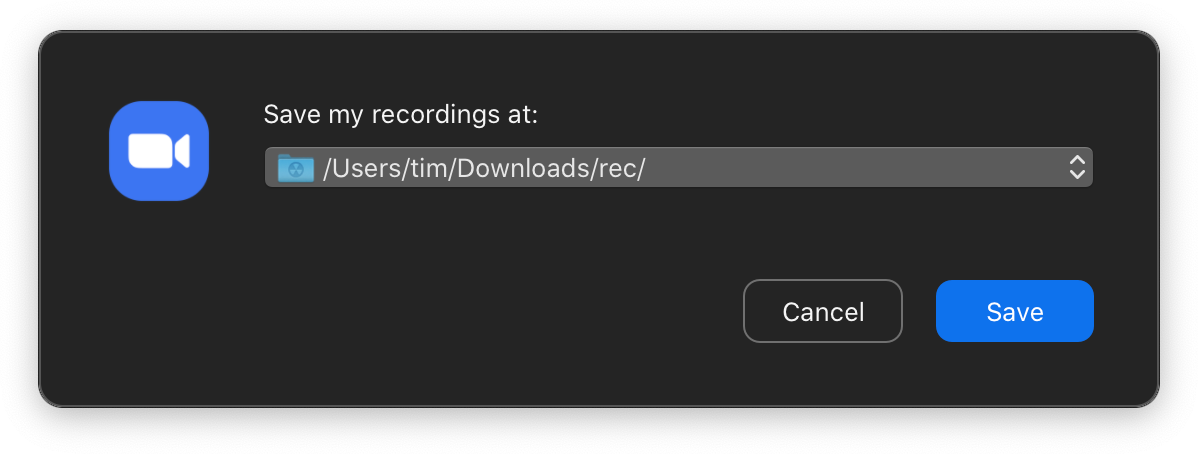
After the conversion, Zoom asks for the folder to put the converted files into. The default is the folder our .zoom files were in.
Step 7
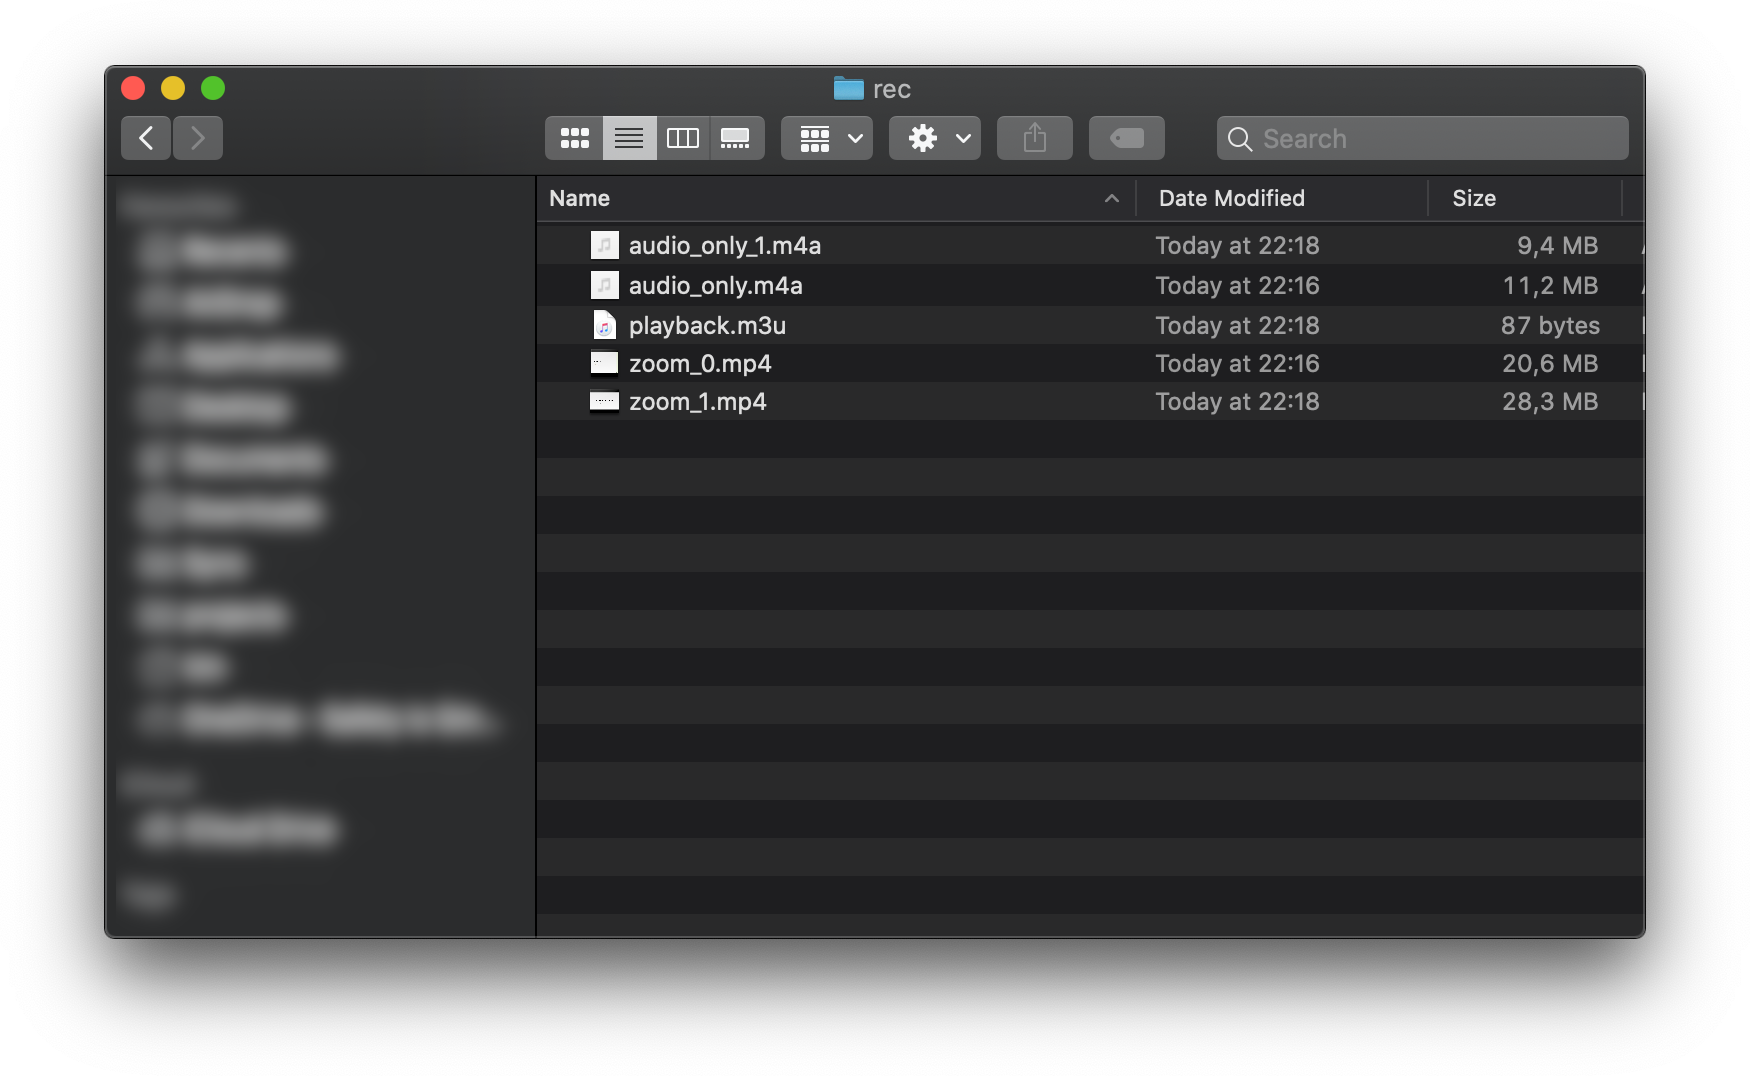
The Zoom window closes and you can use the converted files. If you want to convert the recordings in the future you just need to double-click the files.